KeyBow Pimoroni Keyboard - Installation, Hacks, Fixes, and Multitab Support
I love pimoroni keybow. it’s a compact, programmable keyboard powered by a raspberry pi zero. It connects via USB and can help improve your workflow considerably. Each button can be programmed in functionality and LED color. It’s a must have and I definitely recommend it, but unfortunately it is not perfect, so you will have to workaround a couple of issues.
This post details these hacks and fixes, as well as the lua implementation I wrote to expand the number of operations the keyboard can provide.
Fixing occasional reboot, and “frozen” or “stuck button” behavior.
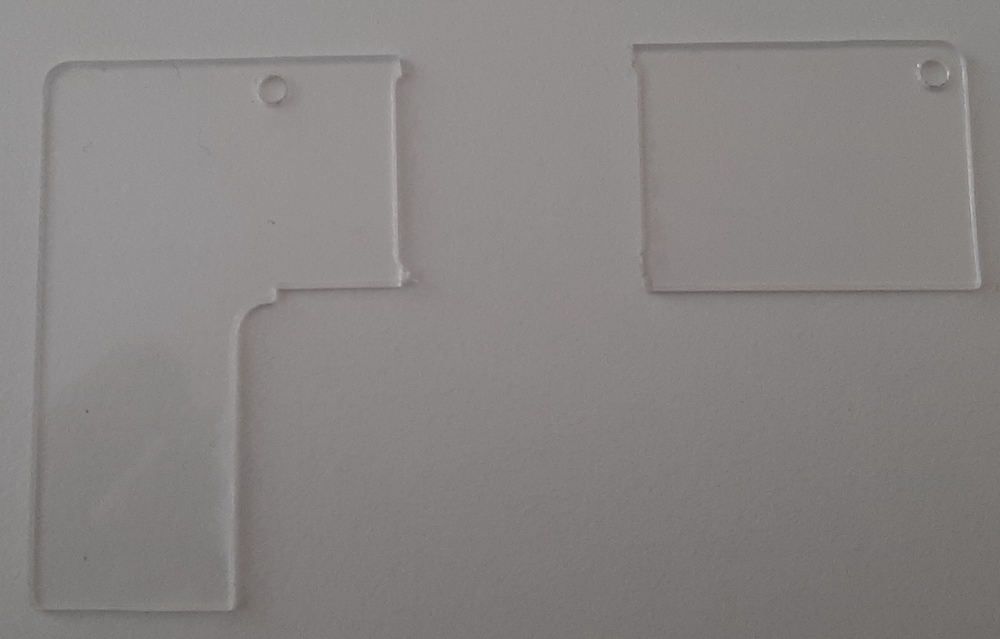
The first problem I found had to do with occasional reboots, especially when touching the keyboard on the side of the top part, and occasional weird behavior as if the keyboard was stuck and was not accepting any button press, or like one button was constantly pressed. I found out that the root cause for all these problems boils down to poor clearance on the button boards: a metal pillar is supposed to rest on a hole to provide structural support, using a nut as a spacer. Unfortunately, the nut is made of metal and thus conductive, and bridges the button contacts.
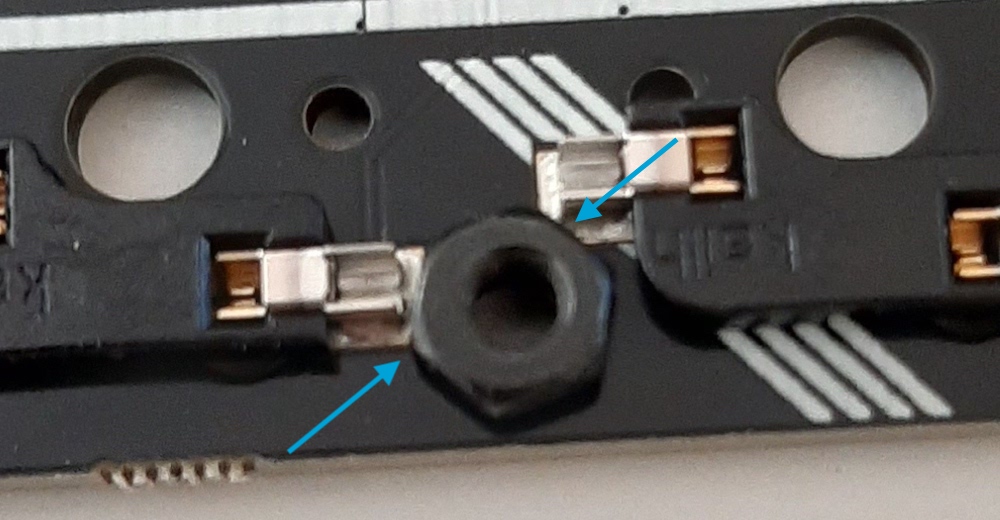
From the assembly instructions there is a reference to plastic nuts, so I guess these parts were originally supposed to be plastic. The rogue connection results in those strange behaviors. Additionally, I suspect that just touching the nut led to a change in voltage, resulting in a reboot for unclear reasons. This explains why it happened only when I touched the top part of the keyboard, and thus the nut as well.
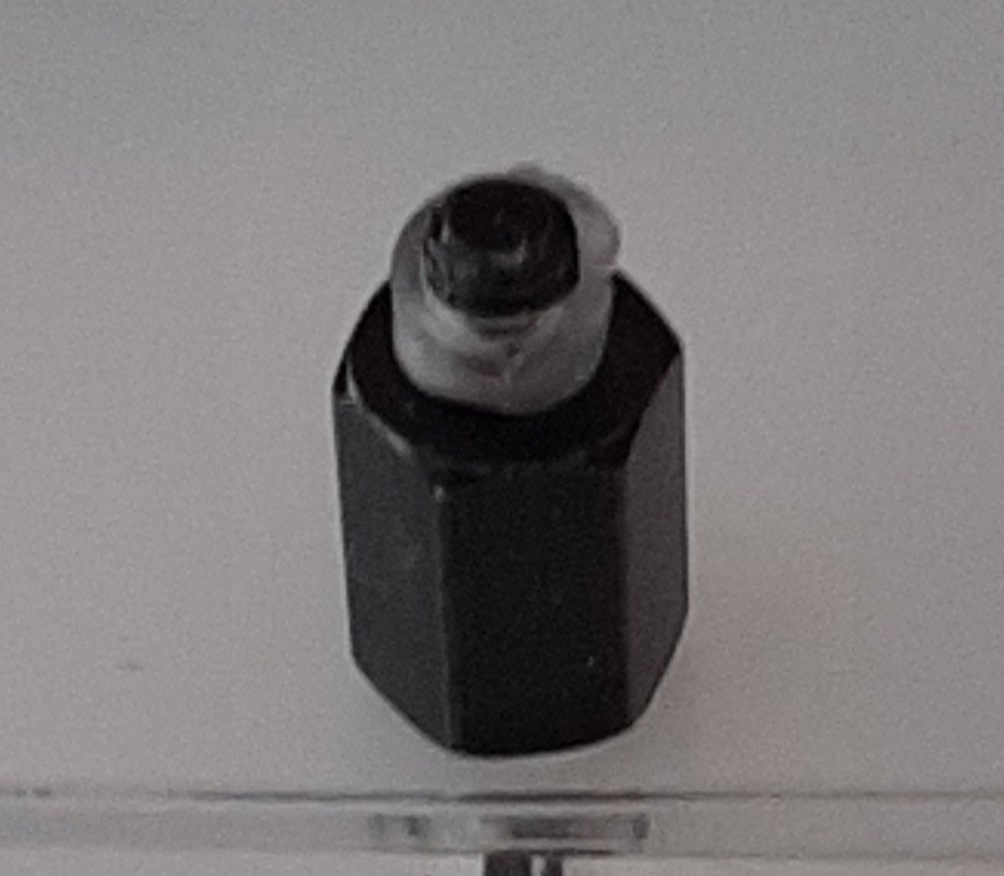
The fix requires a BIC pen and a sharp cutter. Just cut the plastic tube of the ink reservoir at the proper height, and use the resulting plastic ring in lieu of the nut to provide the needed spacing.
This is the only point where such spacer is needed. As you can see from the picture, the board rests on the plastic ring, and no rogue connection occurs
Fix poor connection of the USB micro cable with the Raspberry Pi.
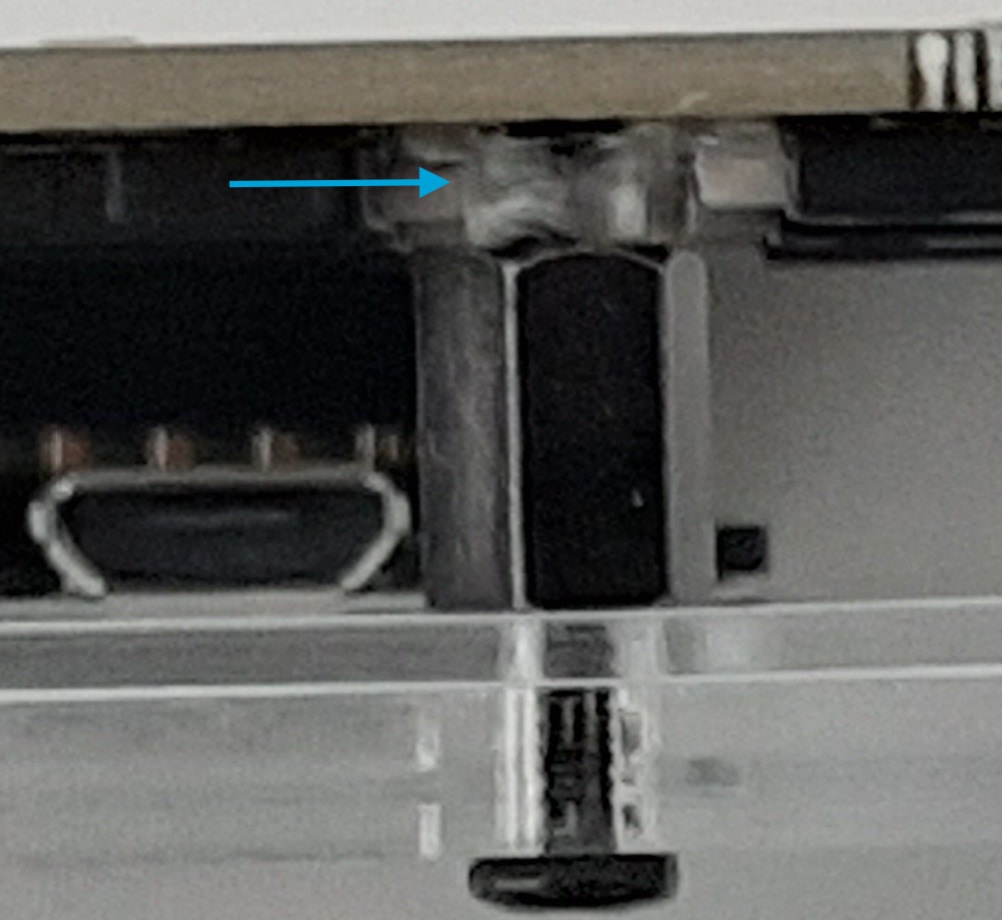
Another issue is due to the incorrect geometry between the Raspi USB micro female connector and the cable male. Between these two, there is an acrylic shim to compensate for the Raspberry Pi thickness. Unfortunately the two bridges of this shim prevent the USB connector to engage properly on one side, and creates an annoying step for the cable strain mitigation on the other. This results in frequent cable disconnections.
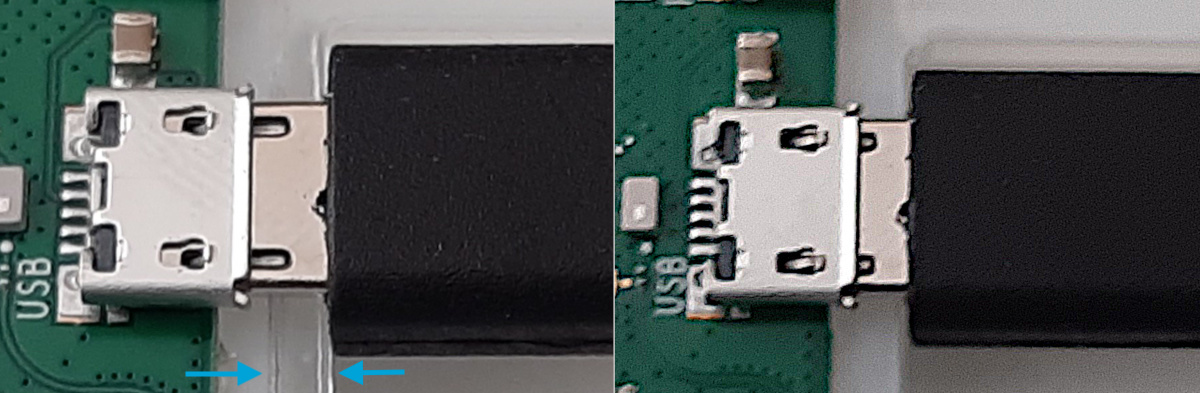
I recommend breaking both bridges. They provide no value. The split section of the shim will be kept in position through simple friction.
Tabbed navigation of operations
When I bought keybow, I immediately knew that its power comes from its flexibility of programming it. I also realised that the number of buttons is large, but not huge. Additionally, I wanted to convey mnemonics and proper spatial organisation to my commands. With 12 buttons, this is not going to be trivial, especially if my usage grows.
So I decided to learn as little as lua as I could (I am not a lua programmer, at all) to get tabbed navigation of operations. On my github you can find keybow-pager. It basically allows to configure four “tabs”, each assigned to the top four buttons. Clicking on each button reconfigures the behavior of the remaining buttons.

You can configure it by modifying the operations.lua and pages.lua files. Installation is simply a matter of importing main from the pimoroni keybow entry point script.
Currently I have two pages: one with desktop operations (typically browser actions) and one for coding (git operations and pycharm navigation). The remaining pages are currently unused, but I will eventually find the proper placement.
Have fun.